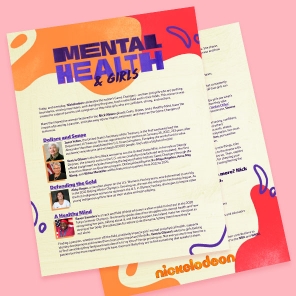
Educational
Full Episodes
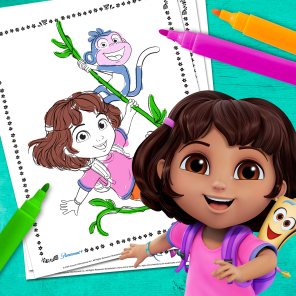
Coloring Pages
Big Kids
Black History Month
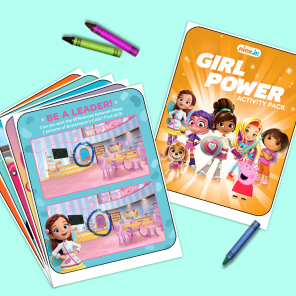
Events & Recreation
Other
For exclusive content& free goodies!
Please enter a valid email.
Please accept the Terms & Conditions.
Haven’t received your first newsletter? Be sure to check your spam folder—sometimes emails get confused!
Be sure to check your inbox for your first newsletter, coming soon.
Oops. Something went wrong. Please try again.